
Let me start by saying that this is probably the longest, most picturesque, most in-depth, and most scientific post that I've written to date. Kingsford® has changed their "blue bag" formulation yet again, and I think it deserves a fair investigation.
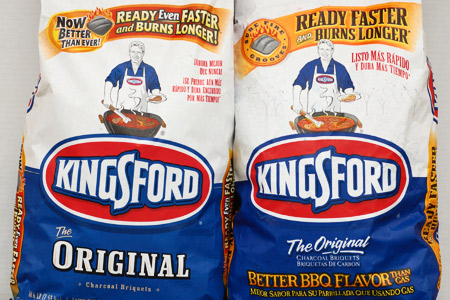
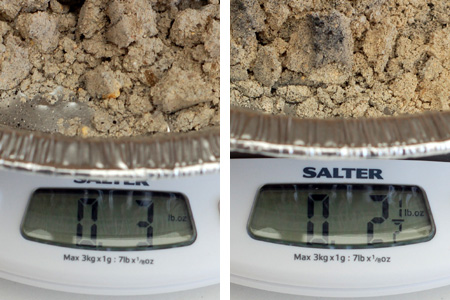
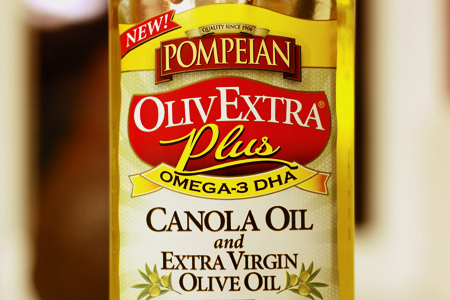
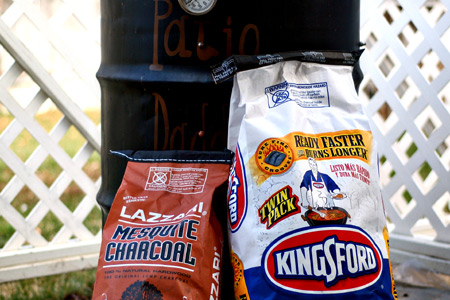
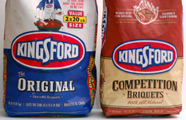
As you can see by the claim on the bag in the image above (left bag), the new formulation is "ready even faster and burns longer". This is clearly good news, if it holds true.
Just for background, the new Kingsford® comes from an apparent "green" initiative by the company. In short, they sought to produce a product that yields the same amount of heat, but in a smaller package. The bag is lighter, which means more bags in a truck, which translates to less trucking miles, and therefore less emissions.
As I mentioned, this is all well and good, so long as I get the same or more bang for the bag. Let's dive in and see how this new stuff stacks up.
I wanted this review to be as fair and impartial as I could make it at home. I don't have a laboratory, but I am an engineer, so I did the best that I could. I ran side-by-side tests of two brand new off-the-shelf bags of the old and the new. As you will see, I've weighed and photographed each product so that you can see exactly what I saw.
Here goes...
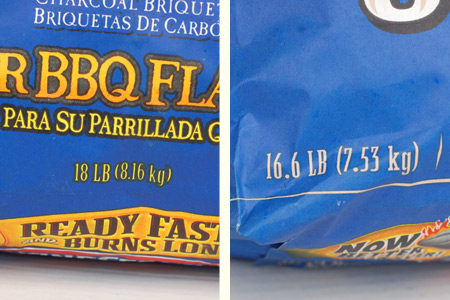
As you can see, the new bag is 1.4 pounds lighter than the previous formulation.
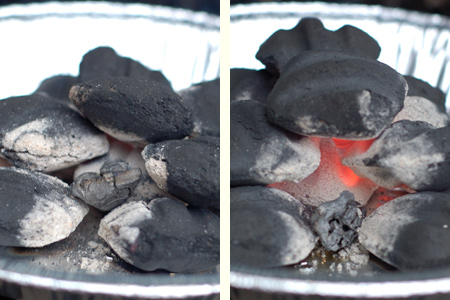
Note: From here on the old briquettes are pictured on the left, and the new are on the right.
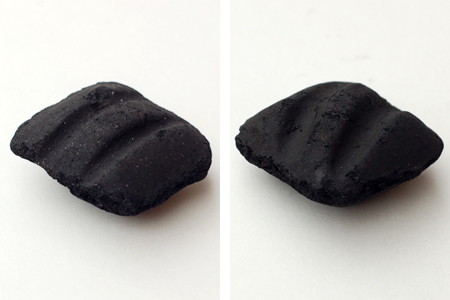
The new briquettes are about the same size, but they appear to be more tightly compressed and feature larger and deeper grooves. As you can see, the new grooves are diagonal.
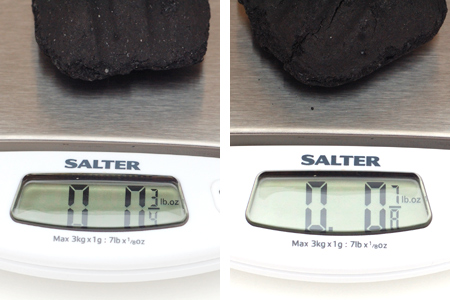
I weighed various quantities of the old and the new briquettes and here is how they compared:
| Quantity | Old | New |
|---|---|---|
| 1 briquette | 3/4 oz | 7/8 oz |
| 5 briquettes | 4 1/4 oz | 4 3/8 oz |
| 10 briquettes | 8 3/8 oz | 8 5/8 oz |
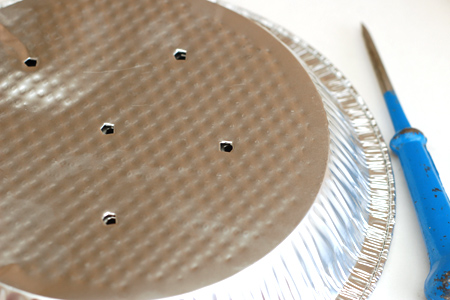
For the burn test, I punched two aluminum pie pans with an identical pattern of six holes. I wanted to use a method that would contain the ash for a final weight, as you will see later.
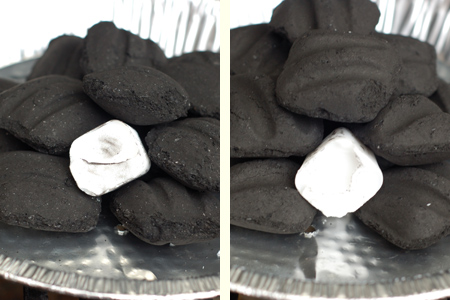
I arranged the old and new briquettes in each pan as similarly as I could. I used 12 briquettes in each, in layers of six, four, and two (all with the grooves facing upward). I put a single Weber wax starter cube in each pile.

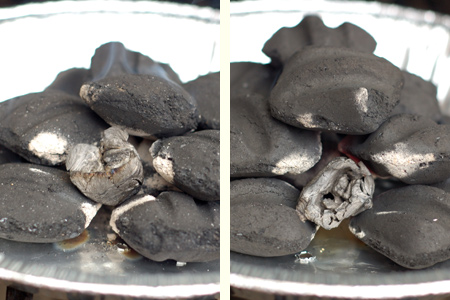
I lit each cube and took pictures at five-minute intervals. For those interested, the temperature was 48º and the humidity was 52%.
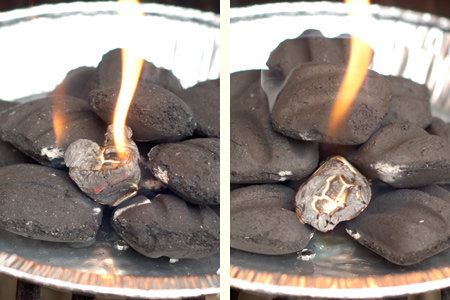
At five minutes.
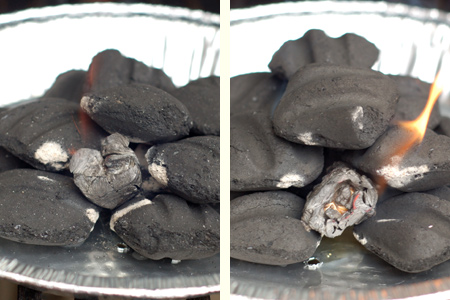
At 10 minutes.
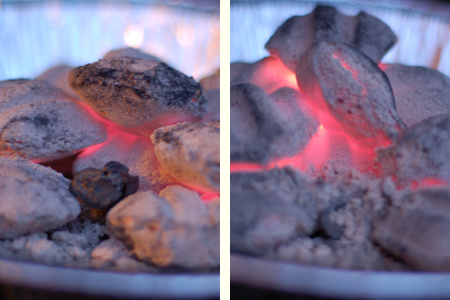
At 15 minutes.
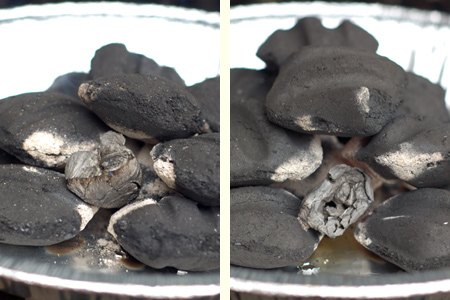
At 20 minutes.
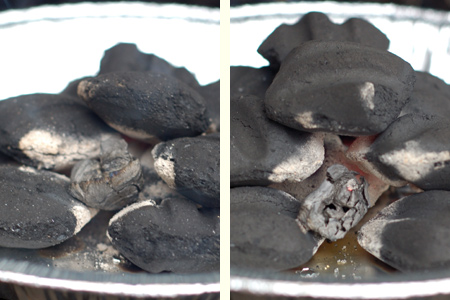
At 25 minutes. I started taking temperature measurements at this point. I used an infrared thermometer on the bottom of each pan at the 9 o'clock position.
| Old | New |
|---|---|
| 459º | 334º |
At 30 minutes.
| Old | New |
|---|---|
| 478º | 313º |
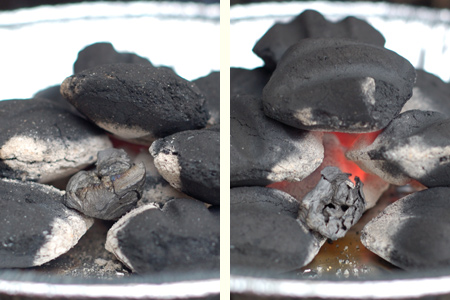
At 35 minutes.
| Old | New |
|---|---|
| 426º | 389º |

At 60 minutes.
| Old | New |
|---|---|
| 431º | 557º |
At 90 minutes.
| Old | New |
|---|---|
| 244º | 325º |
I stopped taking pictures at 90 minutes, but I continued reading the temperatures out to 180 minutes.
| Minutes | Old | New |
|---|---|---|
| 120 | 169º | 203º |
| 180 | 136º | 168º |
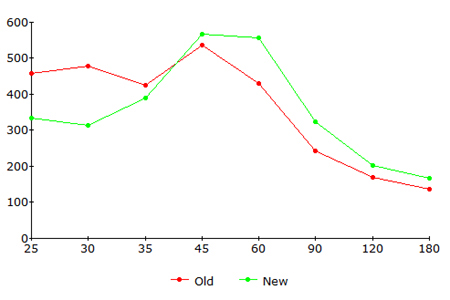
Here is a chart that shows the old and new temperatures over time. The horizontal axis is time and the vertical shows the temperatures.
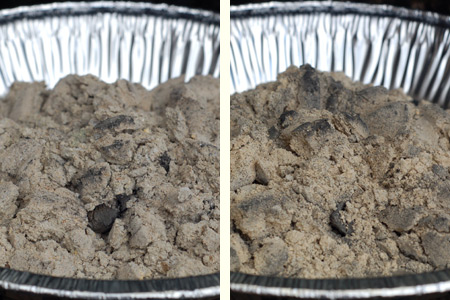
What about ash? Well, as you can see below, they are very close, but the new stuff produces slightly less by weight (3 oz vs. 2 1/2 oz).
OK, so what does all of this really mean? The bottom line for me is that, based on my testing, the new product lives up to its claims. In fact, I think it's better than they claim.
While you could argue that it starts slower, I think the crossover temperature at roughly 500º is a good indication that they really are comparable out of the gate.
As the chart above shows, it does indeed burn longer (and even hotter) over the long haul. Combine that with less ash weight, and I think it's an all-around better product.
Note: The new formula is far less smokey starting up than the old formula. I'd estimate that the old stuff smokes four to five times as much.


