When I was first offered the opportunity to review the T-fal OptiGrill I was just as much skeptical as I was intrigued. After all, as a "grilling pro", what could it possibly offer? Well, I was surprised at the results of my extensive review.
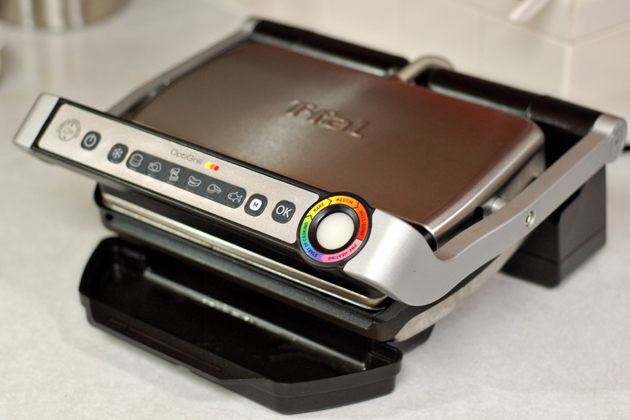
You can read all about the grill at their web site, but here's my bottom line. This is an 1800-watt indoor grill with six programs that automatically adjust the cooking time and temperature according to the type and thickness of what you're cooking.
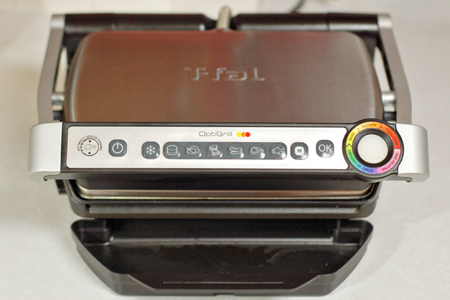
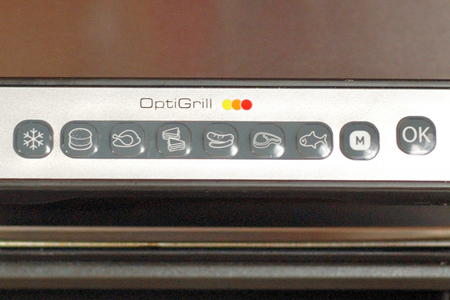
That all sounds pretty cool, but the obvious question is, "Yeah, but does it deliver?" The short answer is yes. It's about as brain-dead to operate as can be. You look at what you're cooking, set the program, and wait until the indicator light (I call it the magical orb of done-ness) tells you that it's perfectly cooked. In fact, it's so easy that my three girls have come to use it frequently.
Now, you might be tempted to think to yourself, "Come on Daddio, it's just a glorified panini press!" Well, I feel ya, but that's simply not the case. There is indeed some kind of electronic wizardry that takes place under the hood. Sure, a grilled cheese or panini is a no brainer, but let me show you two simple extremes that I think will illustrate what I'm saying.
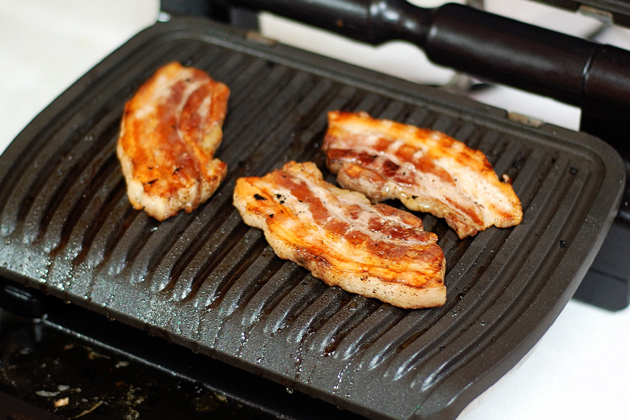
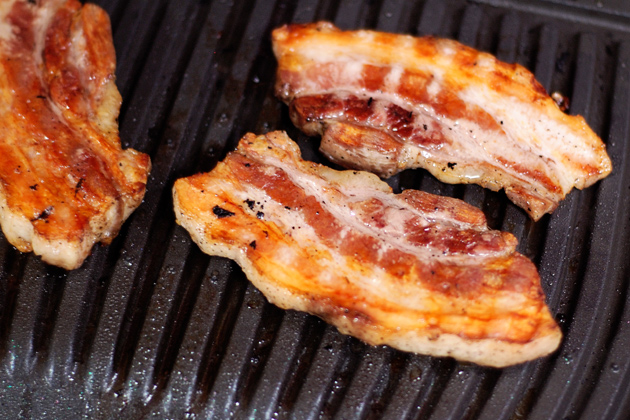
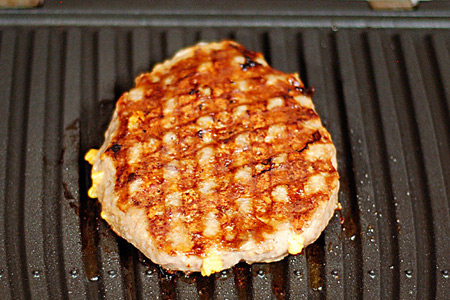
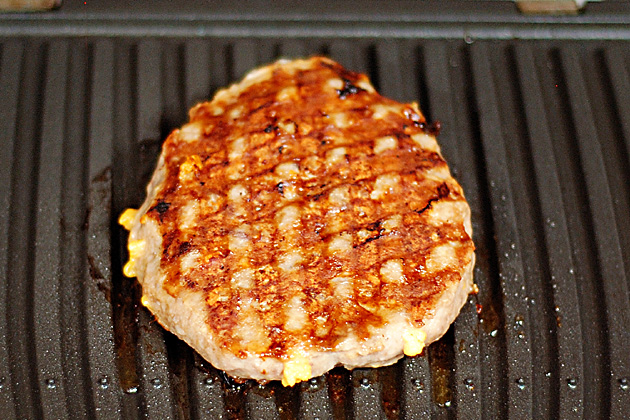
Here's a frozen Johnsonville® brat patty cooked to perfection using the frozen burger setting. You simply pre-heat, set the food in there and wait for the light to get to the proper color for the desired done-ness (in this case well-done). Oh, and there's an alarm that sounds at each level of done-ness. I turned the patty 90° about two-thirds of the way through the cooking process to get those pretty (OCD) grill marks.
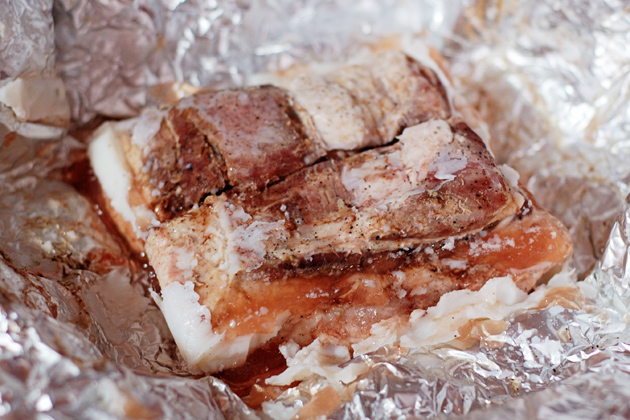
Yeah, a frozen burger is not all that impressive, so let's turn up the heat (pun intended) to put this thing to a serious test. Let's put a quality steak on this bad boy and see what happens. This was a one-inch thick USDA Choice ribeye that I seasoned straight out of the fridge with kosher salt and fresh-ground pepper.

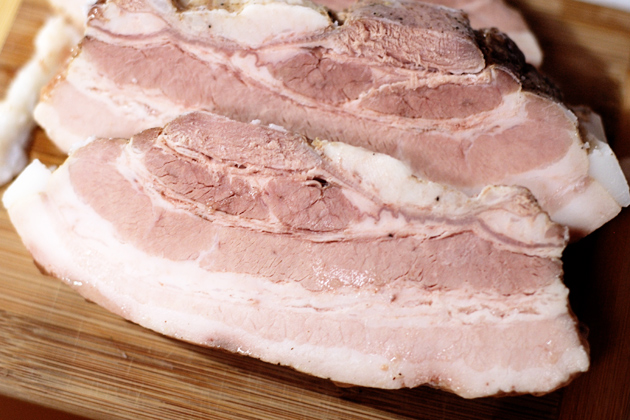
I preheated it on the steak setting, threw the meat in it, closed the lid, and came back 8 1/2 minutes later (medium-rare on the indicator light) to this beautiful specimen. The outside was very nicely seared, the done-ness nearly perfect, and the flavor was great. I cook steaks outside over charcoal all the time and it's very hard to reliably accomplish that with a one-inch steak.
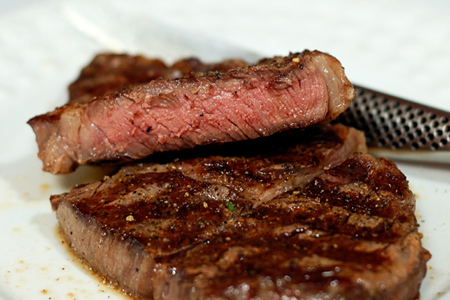
Oh, and by the way, I checked the internal temperature of the brat patty and the steak with a Thermapen® and each was dead-on for the advertised done-ness.
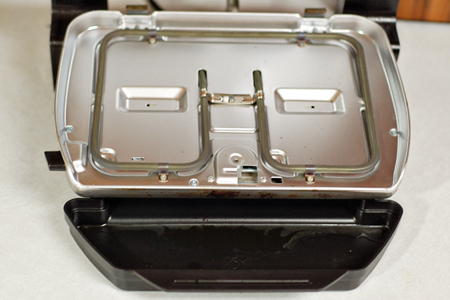
Another great plus is that the non-stick cooking plates and drip pan come out very easily with the push of two buttons, and they are dishwasher-safe. The clean-up really couldn't be any easier.
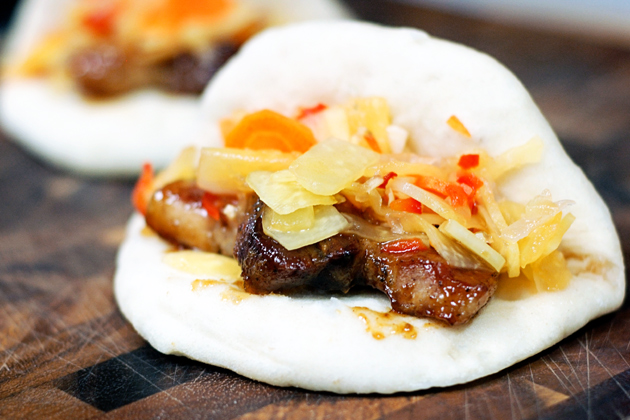
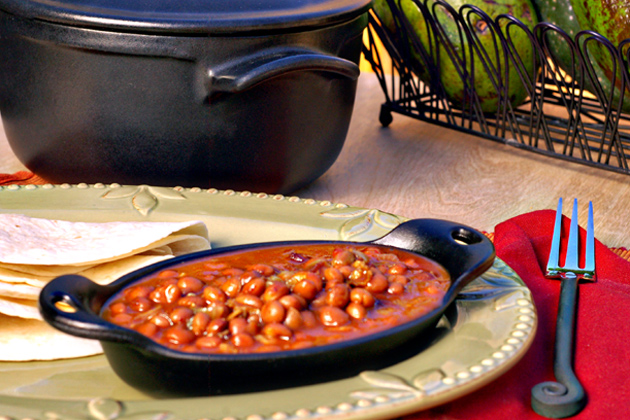
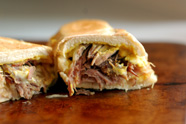
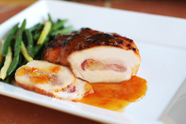
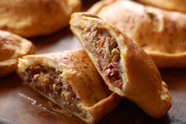
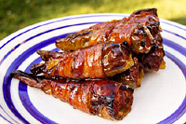
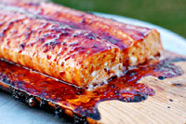
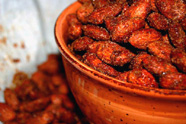
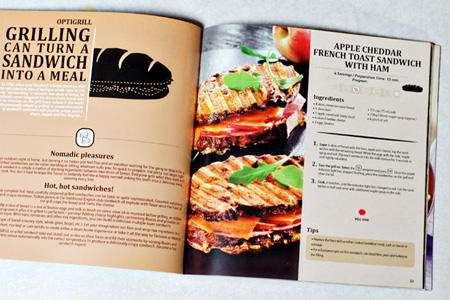
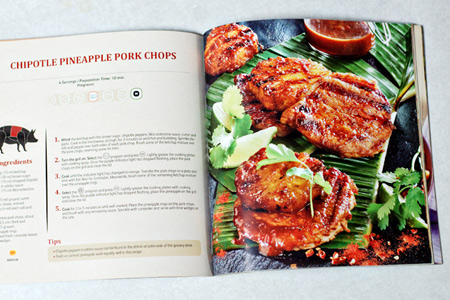
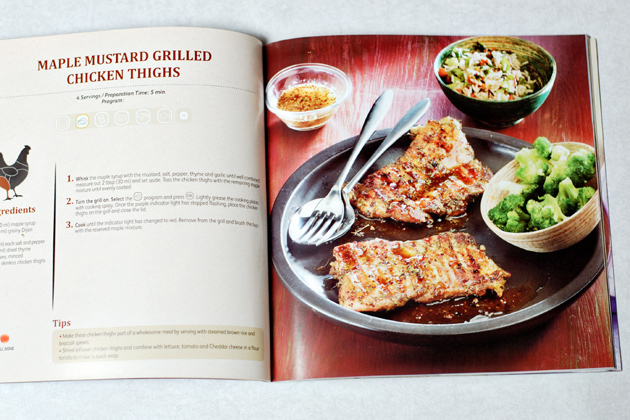
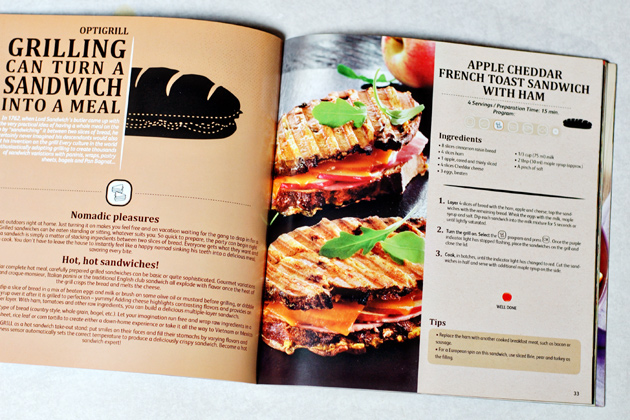
Kitchen appliances like this often come with some cheesy recipe booklet that is typically not even worth the paper on which it's printed. Given that, I was really impressed with the recipe book (not booklet) that comes with the OptiGrill. The recipes are well thought-out and the photography is great. Here are some samples:

My only complaint about the OptiGrill is its capacity. At $180 it would be nice if it were larger. For a family of five like mine you have to work in batches, which can be a pain. Other than that, this unit does exactly what it promises and it produces great indoor grilled food. Sure, it won't replace your outdoor grill, but you'll be surprised at how often you'll use it. Our family typically uses ours several times a week.
Disclaimer: The OptiGrill set was provided to me at no charge from T-fal, but the review is entirely my own.


That all sounds pretty cool, but the obvious question is, "Yeah, but does it deliver?" The short answer is yes. It's about as brain-dead to operate as can be. You look at what you're cooking, set the program, and wait until the indicator light (I call it the magical orb of done-ness) tells you that it's perfectly cooked. In fact, it's so easy that my three girls have come to use it frequently.
Now, you might be tempted to think to yourself, "Come on Daddio, it's just a glorified panini press!" Well, I feel ya, but that's simply not the case. There is indeed some kind of electronic wizardry that takes place under the hood. Sure, a grilled cheese or panini is a no brainer, but let me show you two simple extremes that I think will illustrate what I'm saying.
Here's a frozen Johnsonville® brat patty cooked to perfection using the frozen burger setting. You simply pre-heat, set the food in there and wait for the light to get to the proper color for the desired done-ness (in this case well-done). Oh, and there's an alarm that sounds at each level of done-ness. I turned the patty 90° about two-thirds of the way through the cooking process to get those pretty (OCD) grill marks.
Yeah, a frozen burger is not all that impressive, so let's turn up the heat (pun intended) to put this thing to a serious test. Let's put a quality steak on this bad boy and see what happens. This was a one-inch thick USDA Choice ribeye that I seasoned straight out of the fridge with kosher salt and fresh-ground pepper.
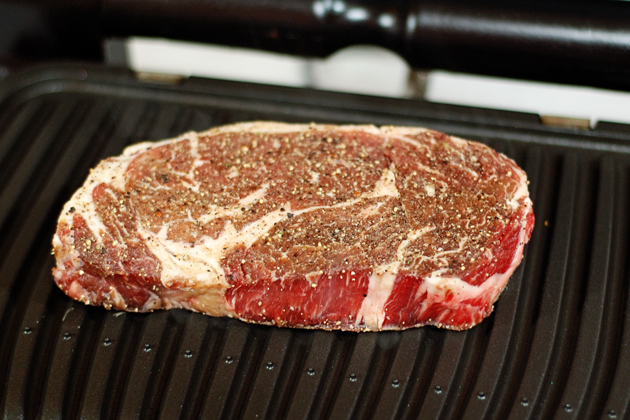
I preheated it on the steak setting, threw the meat in it, closed the lid, and came back 8 1/2 minutes later (medium-rare on the indicator light) to this beautiful specimen. The outside was very nicely seared, the done-ness nearly perfect, and the flavor was great. I cook steaks outside over charcoal all the time and it's very hard to reliably accomplish that with a one-inch steak.

Oh, and by the way, I checked the internal temperature of the brat patty and the steak with a Thermapen® and each was dead-on for the advertised done-ness.
Another great plus is that the non-stick cooking plates and drip pan come out very easily with the push of two buttons, and they are dishwasher-safe. The clean-up really couldn't be any easier.

Kitchen appliances like this often come with some cheesy recipe booklet that is typically not even worth the paper on which it's printed. Given that, I was really impressed with the recipe book (not booklet) that comes with the OptiGrill. The recipes are well thought-out and the photography is great. Here are some samples:

My only complaint about the OptiGrill is its capacity. At $180 it would be nice if it were larger. For a family of five like mine you have to work in batches, which can be a pain. Other than that, this unit does exactly what it promises and it produces great indoor grilled food. Sure, it won't replace your outdoor grill, but you'll be surprised at how often you'll use it. Our family typically uses ours several times a week.
Disclaimer: The OptiGrill set was provided to me at no charge from T-fal, but the review is entirely my own.
Labels: review