Last weekend I hosted a driveway tailgate party for our church youth group and our pastors. The party was sponsored by Bush Brothers, and we had a wonderful time of fun, food, and fellowship while we cheered on our hometown Boise State Broncos.

The weather was absolutely perfect for our cookout. It was calm and sunny with temperatures in the high 60's. We live relatively close to the stadium and in the flight path to Mountain Home Air Force Base just down the freeway, so we were able to see the four Air Force F-15's fly over as they completed their pre-game fly-by. Being an Air Force vet, it always stirs me to hear that thundering sound of freedom overhead.
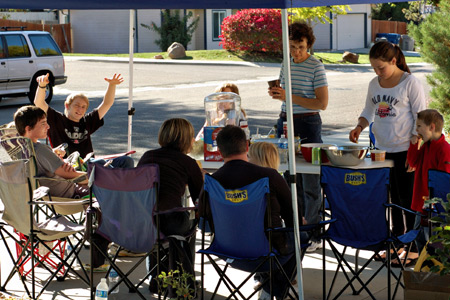
It was great to be outside on such a beautiful day cooking and enjoying time with dear friends. The kids were all over the place (naturally) playing, climbing our tree, and tossing the football in the street. Of course I was manning the smoker and grill.
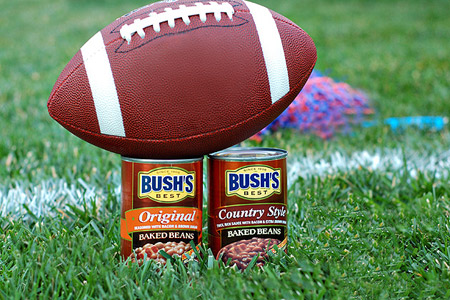
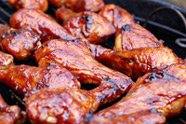
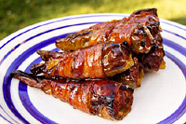
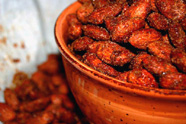
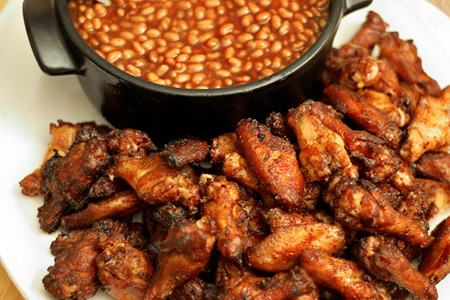
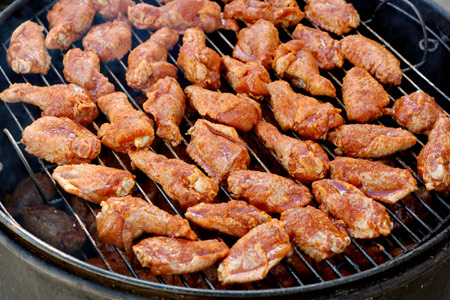
Here I'll share the first of two recipes that I created for the event. These Memphis dry-rubbed wings are great alongside a heapin' helping of Bush's Country Style Baked Beans. The rub gives these wings a perfect balance of salt and sweet, with just a bit of spicy goodness that works very well with the brown sugar in the beans.
Ingredients
10 lbs Chicken wing sections, defrosted
1 3/4 cups Memphis dry rub (recipe follows)
3 cans Bush's Country Style Baked Beans
Canola oil spray
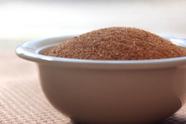
Memphis Dry Rub
1 cup Sea salt, medium fine (no table salt, please)
1/2 cup Unrefined evaporated cane sugar (no table sugar, please)
1/2 cup Brown sugar, golden/light
2 Tbs Sweet Hungarian paprika
2 Tbs Chili powder, medium heat
2 Tbs Granulated onion (not onion "powder")
2 Tbs Dry mustard
1 Tbs Granulated garlic (not garlic "powder")
2 tsp Dry thyme
2 tsp Dry oregano
2 tsp Black pepper, ground fresh
2 tsp Celery salt
2 tsp Ground ginger
1 tsp Ground coriander
1 tsp Ground cayenne (optional)
Method
Combine all of the rub ingredients in a large mixing bowl and mix well with a hand mixer or stand mixer.
Divide the wings into three equal batches in gallon zip-top bags. Add 1/3 cup of the rub to each bag, seal and shake to coat the wings evenly.
Refrigerate the bags of wings in a lipped sheet pan for at least two hours, or overnight.
Start your grill or smoker and prepare for indirect cooking at 250-275º.
Oil your cooking grates well with canola oil spray.
Add two small chunks of fruit wood (apple or cherry) to the fire about 10 minutes before you're ready to cook. Wood chips soaked for 30-60 minutes will work well, too. If you're using a gas grill, make a smoker pouch.
Drain the liquid from the bags of wings. Add two tablespoons of rub to each bag, seal and shake to coat the wings evenly.
Cook the wings indirect one hour (I used my Ugly Drum Smoker).
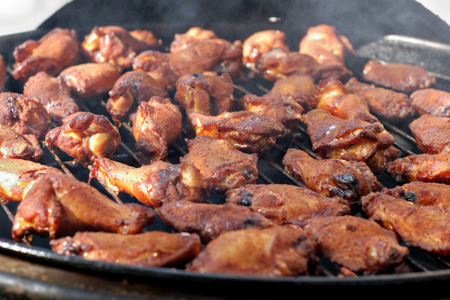
Flip the wings over, spray them with a light coat of canola oil, dust them very lightly with rub, and cook indirect one hour more.
Just before the wings are ready, heat the beans in an large pot.
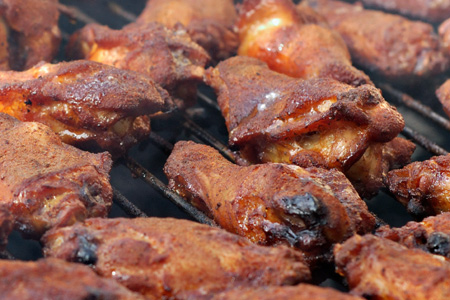
Serve and enjoy!
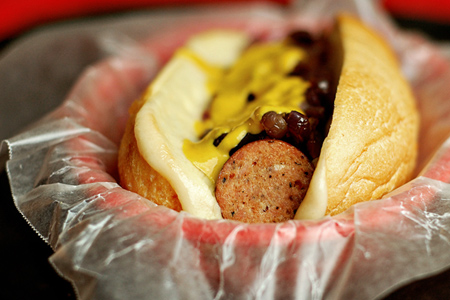
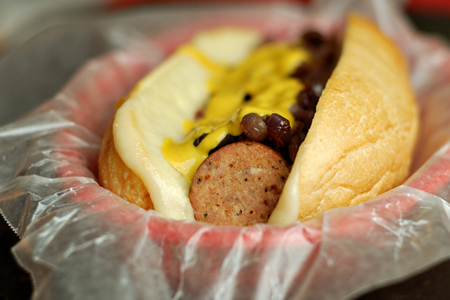
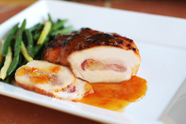
Check back later this week for my second gameday recipe. It'll take grilled brats to a whole new level.
Disclaimer: This cookout is in partnership with, and sponsored by, Bush Brothers & Company.